Face Masks: DIY, Order or Donate to a Bike Shop
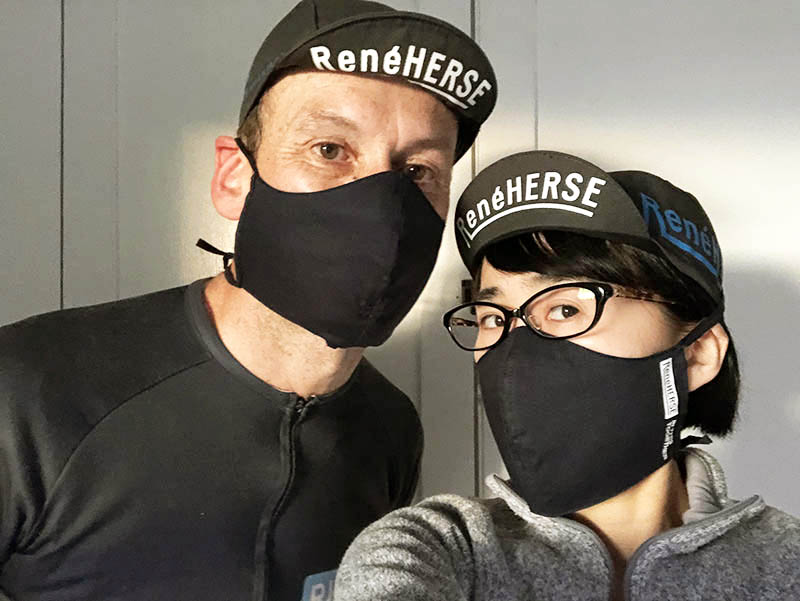
When we pack your orders, we are encouraged by the many nice comments. We want to share this encouragement with others – we’re all in this together! How can we contribute to this positive feeling? Update 5/6/2020: We received a second batch of masks – read the update about the program here.
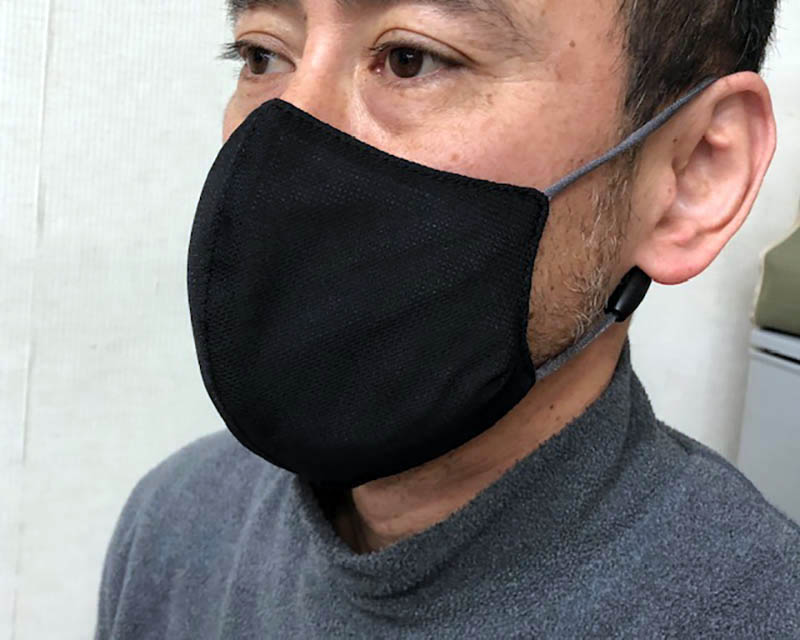
Now the recommendations are to wear face masks any time we have to get closer than ‘social distancing’ (6 feet/1.8 meters). However, face masks are still difficult to find. When we suggested making our own, Mr. Imi (above) from Ostrich, the maker of Rinko bags, told us that he’s been making face masks in Japan. He can’t send us masks due to the current situation, but he was happy to share his pattern with us.
(We’re also offering ready-made face masks at our cost $8 with your order from Rene Herse Cycles – skip to the end of the post to read just about that.)

So we set out to make our own masks. We don’t have a sewing machine, and buying materials isn’t easy, so we used what we had on hand. Let’s try it! For material, we used an old T-shirt, some elastic for Berthoud handlebar bags and some embroidery thread. I found my sewing things that I’ve kept in a little box, unused, for many years. Together with Jan, we made a pot of tea and went to work.

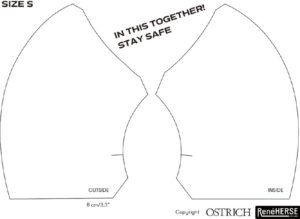
Ostrich’s pattern fits really well, and if you’re good at sewing, you’ll end up with a great face mask. Ours turned out OK. The elastic is a little strong – it’s designed to hold your bag securely closed even if you overstuff it – so you may want to find something different. Here is how we made our masks.
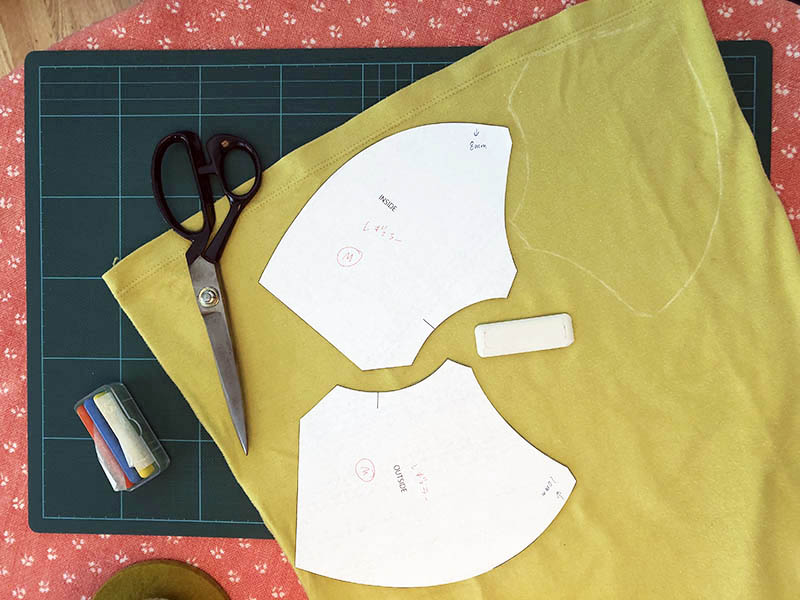
We printed Ostrich’s pattern (there’s a link at the end of this post) and cut out pieces. The mask is made of two halves, with an inside and an outside layer – four pieces total. We traced them on the fabric (T-shirt) and cut out the four pieces. If your fabric has different colors on each side, make sure you flip the pattern correctly, so you don’t end up with a two-colored mask (unless you want it). The lines at the edges is where you can put a dart to improve the fit further. We left out that part.
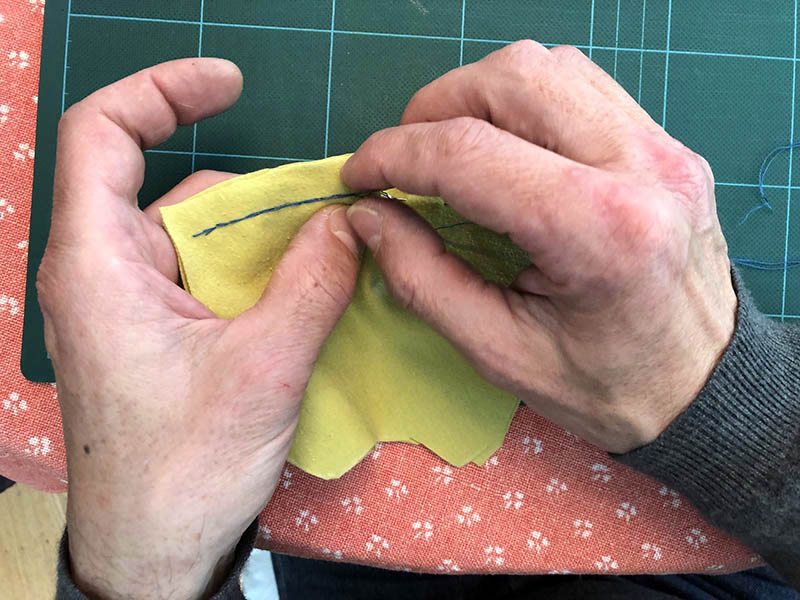
Start by sewing together the two halves of each layer. We did a quick Internet search and decided to use a backstitch. On the inner layer, put the seam 10 mm (3/8″) from the edge. The outer layer’s seam is 8 mm (5/16″) from the edge. At least more or less – Jan’s sewing skills are a bit rusty. It doesn’t matter. That’s the charm of hand-made face masks.
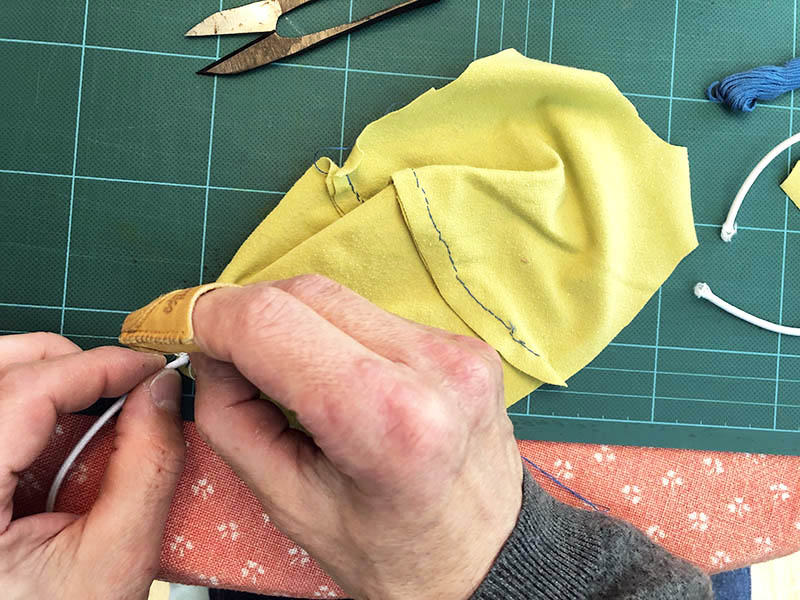
Attach the elastic that goes over your ears to hold the mask in place. Sewing through the ultra-strong Berthoud elastic was hard, but if you use a softer one, it should be easier.
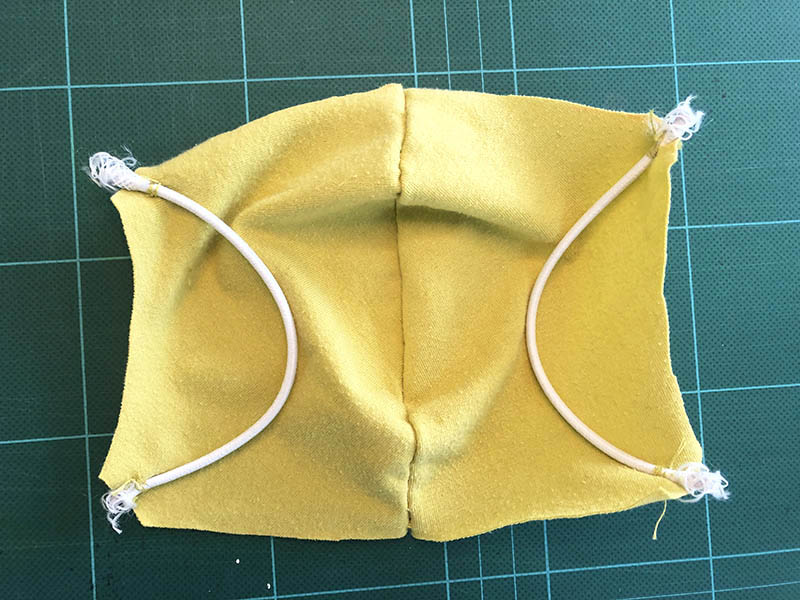
Make sure you attach the elastic in the right orientation, so it’s located correctly when you later flip the mask outside-out.
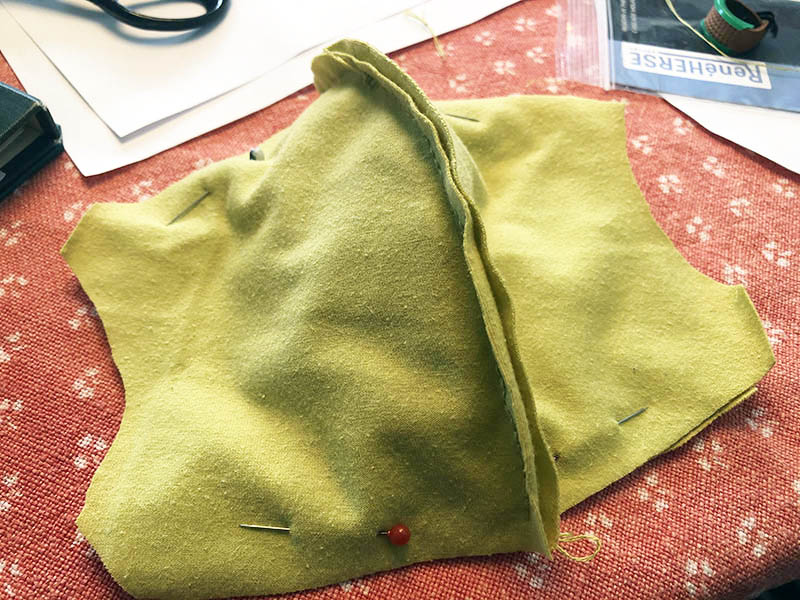
Put the two layers together, inside-out: The seams of each layer face outward at this point. Pin them as much as you want to keep them from moving as you sew them together.
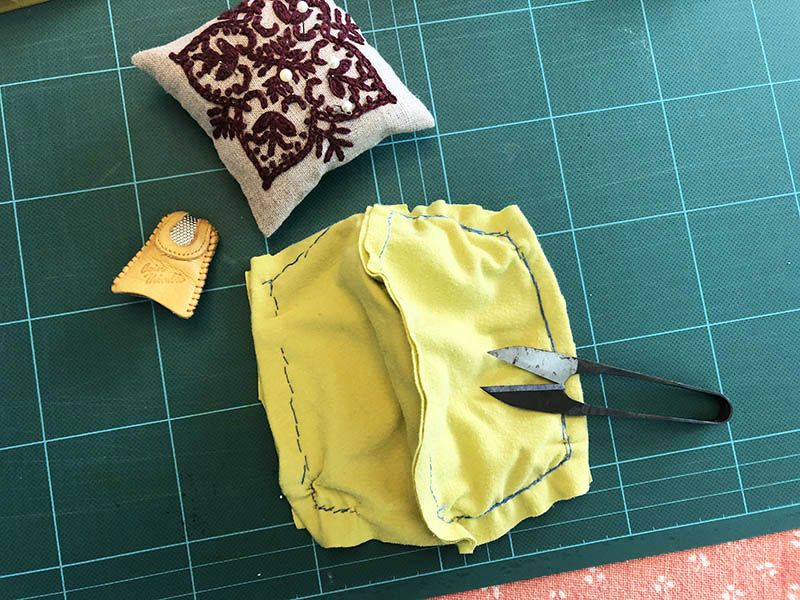
Sew around the perimeter. This seam won’t be as visible, so Jan’s sewing was a little sloppier here. Leave a small opening at the bottom, so you can pull the mask outside-out at the end.
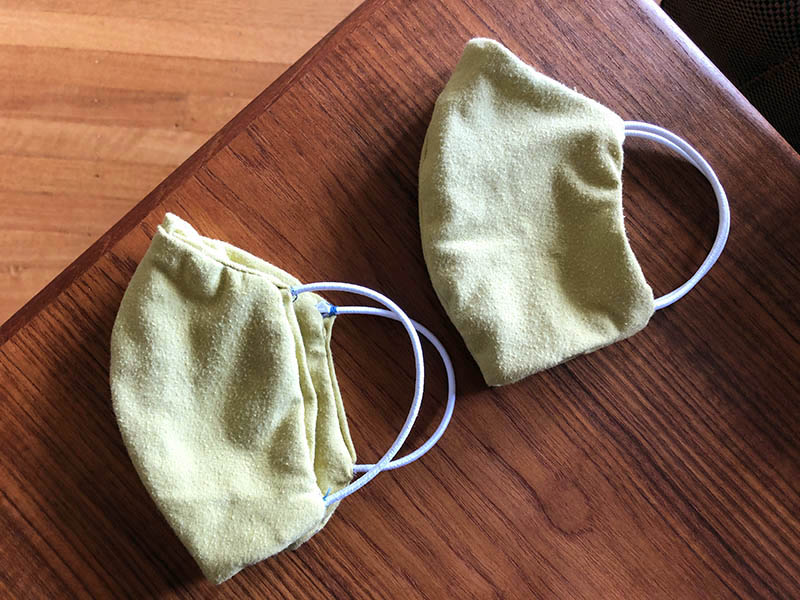
Flip the mask outside-out, and you’re done. You can close the remaining hole, but it’s not required.
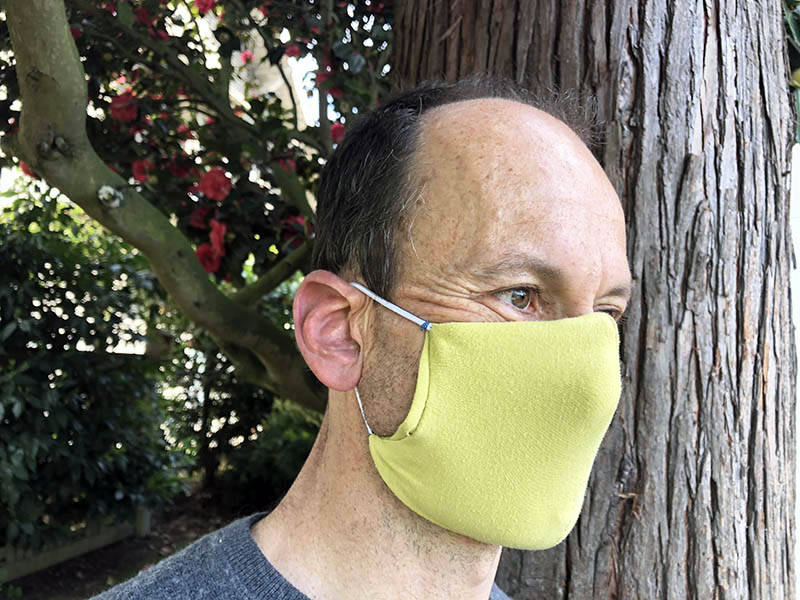
Making the masks was a fun project, but it also took quite a bit of time. If you have a sewing machine, it’ll be easier. We realized that Matt, our Seattle supplier who makes our knickers, has a professional sewing machine! When we talked to him, he told us that he was already making masks that he donates to a local hospital. We asked if he could make some for our customers and especially for bike shops that remain open as ‘essential services.’
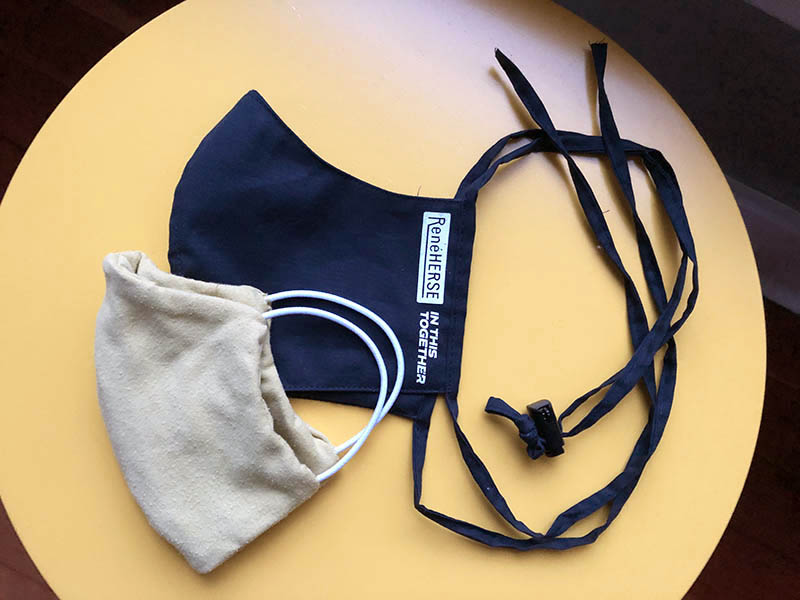
Today, Matt dropped off the first batch of masks. They are made from cotton. The color is navy, and the soft fabric is a dense weave that feels like a good compromise between breathability and protection. The masks can be washed, so you need only one. (Don’t use a dryer, though.) The mask is designed for all-day comfort and a tight fit, so the straps go around your head (and not just behind your ears).
A toggle makes it easy to adjust the mask behind your head, while the lower bands are tied, so the mask to put on and take off when you enter a store on your errands or rides.
We’re offering the masks to our customers at our cost – $8 – and we also have a program to donate them to bike shops. Here is how it works:
- Masks are only available with orders of other products. (We aren’t a mask company.) When you check out, there will be a prompt that allows you to add a mask to your order.
- One mask per customer.
- We don’t have minimum orders, but please add masks for your own use only to orders of more than $75.
- If you order a mask by itself or with an order of less than $ 75, we’ll consider it a donation (see below).
- Quantities are limited. If the mask doesn’t appear at the checkout, then it’s sold out.
- You can order one mask for yourself. If you order more, you’ll still get one mask, and the others will be donated to bike shops.
- You can donate all your masks to bike shops. Just write “Donate Masks” in the Comments field when you check out.
- Bike shops can request masks with their wholesale orders. They simply write the number of masks they need in the Comments field, and if there are enough donated masks, we’ll include them with their shipment. (We’re sending a newsletter to our bike shops to explain the system, and also ask them to order only the masks they really need. Customers cannot select which shop gets their masks.)
This is the first time we’re doing a program like this – let’s hope it all works well.
We also want to thank Mr. Imi of Ostrich for the pattern. Whether you make your own mask or get one of ours, it’ll help protect you and others as we learn to live with the new situation. We’re in this together – stay safe and healthy! Thank you!
—Natsuko & Jan
Click here for the Small pattern and here for the Medium pattern. (The patterns are the actual size.)
Update (4/30/2020): The response has been overwhelming, and all the masks from the first batch are gone. We will make another post when we have them again. Thank you for understanding. In the mean time, please use the patterns above to make your own – it’s not difficult. Be safe and be strong!


