Keeping an Eye on Cranks
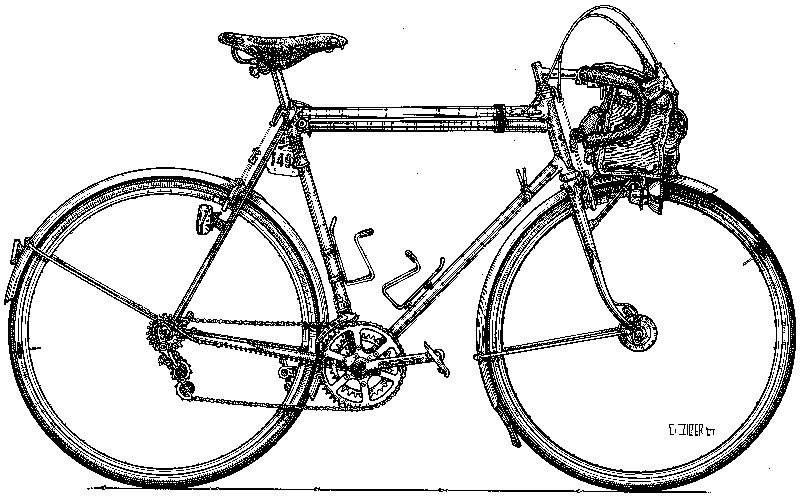
I spend so much time assembling test bikes, testing components, etc., that I have little time to work on my own bikes. Fortunately, my Alex Singer (above) has been very reliable, even though it is 38 years old and has been ridden at least 200,000 km (120,000 miles) in its lifetime, mostly under its first owner.
Before our Flèche ride, I adjusted the front brake pads, which had worn and started to touch the tire. After that 600 km ride, the chain was overdue for replacement. I replace the chain every 1600-1800 km to limit wear on the hard-to-replace freewheel cogs.
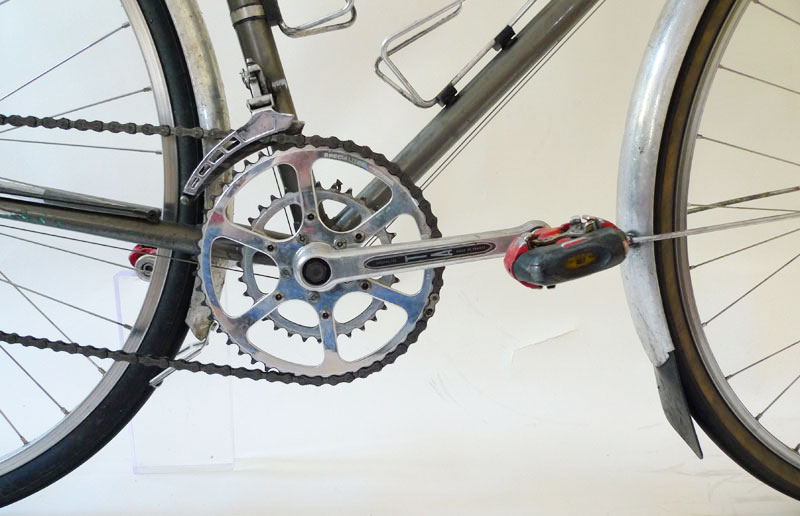
As so often, I only got around to replacing the chain the evening before the next big ride, our club’s 400 km brevet. After taking off the chain, I inspected the chainrings. The large 48-tooth chainring had worn so much that the teeth were very thin at their tops. In the photo below you can see the roots of the teeth, where they still feature their original thickness.
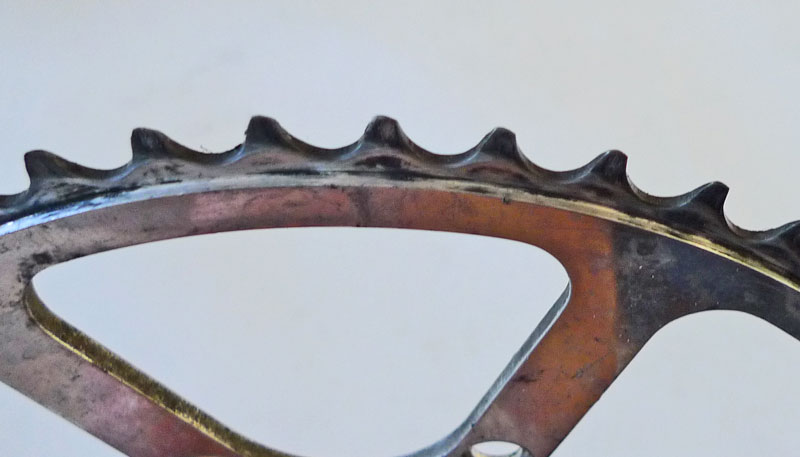
I was pondering this rapid rate of wear when I realized that I last had replaced the chainring four years ago. Since then, I had ridden the Singer about 25-30,000 km. Considering that I use the big-big combination frequently, which runs the chain at an extreme angle, that is a very acceptable rate of wear from the TA chainring. The small 32-tooth ring sees much less use. It remains in very good condition. Fortunately, I had a spare 48-tooth chainring, and it was a quick job to replace it.
On TA “Pro 5 vis” cranks, you need to remove the crank to replace the chainrings. In any case, it is a good idea to take the cranks off your bike every few years. As I unscrewed the crank bolts, I noticed that one had loosened a bit. Next I checked the bottom bracket. Four years ago, I had pressed new bearings into the Alex Singer bottom bracket, and as expected, they still spun smoothly. The first set of bearings had lasted 34 years, so I hope to get similar mileage out of these. (I really don’t miss the annual overhauls of cup-and-cone bottom brackets.)
After removing the chainrings from the crank, I inspected the cranks for cracks. To my shock, the left crank had a nick, from which two small cracks seemed to emanate (arrows in photos below). Or was it just a scratch?
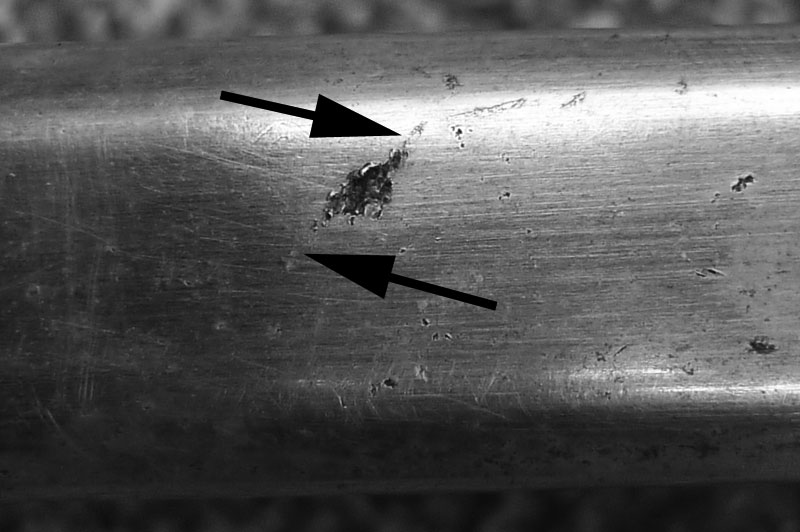
I decided to remove the nick and see how deep the crack/scratch went. I clamped the crankarm between two small wooden blocks in a vise. A few file strokes removed the nick and cracks/scratches (see below), as they were just on the surface of the crankarm. If it had been a deep crack, the crank would have been retired immediately: A broken crank is no laughing matter. Sorry for the mediocre photo quality, but the main focus was to get the bike ready for the ride, not to work on the lighting for the photos.
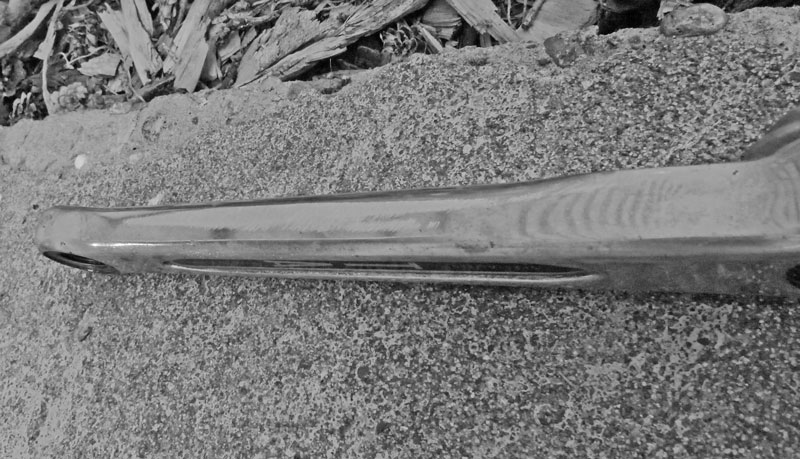
Classic TA cranks are not anodized, so restoring the finish was easy. I started with “wet-and-dry” sandpaper (400 grit up to 1200 grit) under a trickle of water to remove the dust and prevent the sandpaper from clogging. I used the opportunity to lightly sand the remainder of the crankarm as well. Then I polished it with some polishing compound on an old rag. When I re-checked the polished surface, the cracks had disappeared completely. The other crankarm also had a few nicks, which I also filed and sanded off. After polishing both arms, I rubbed on a little car wax to protect the cranks’ and chainrings’ finish. The shiny cranks match the new chainring and look nice on the bike.
Installing the new chain and oiling it completed the maintenance job, which took about 90 minutes. And the bike worked flawlessly during the long ride the following day.


