

Spring Bicycle Inspection
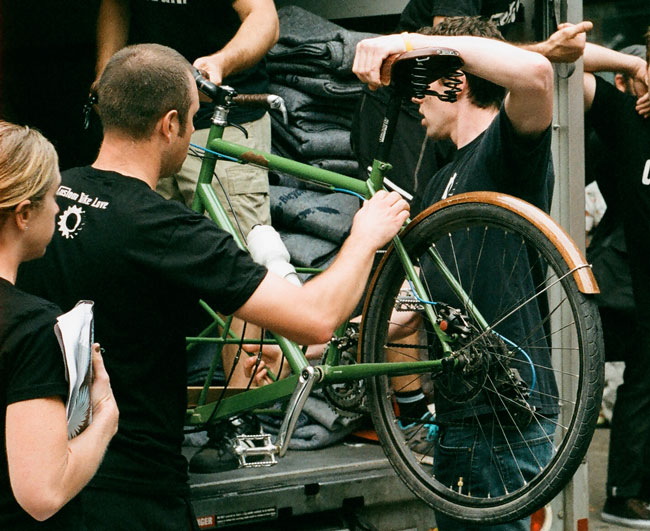
The beginning of the season is a good time to check our bikes carefully. The last thing we need the evening before a ride is to find out that our chainrings are too worn to work with a new chain, or that our bottom bracket is about to pack up. A poorly maintained bike might leave us stranded on the road, or worse, cause us to crash.
I start by going over my bike as I clean it. Not only is it much more pleasant to work on a clean bike, but problems like cracks are easier to see. I wash my bike with water and soap. After it dries, I rub car wax on all metal parts (except the chain). As I wax the bike, I look for cracks and other problems. After the bike is clean, I inspect the following areas:
Brakes
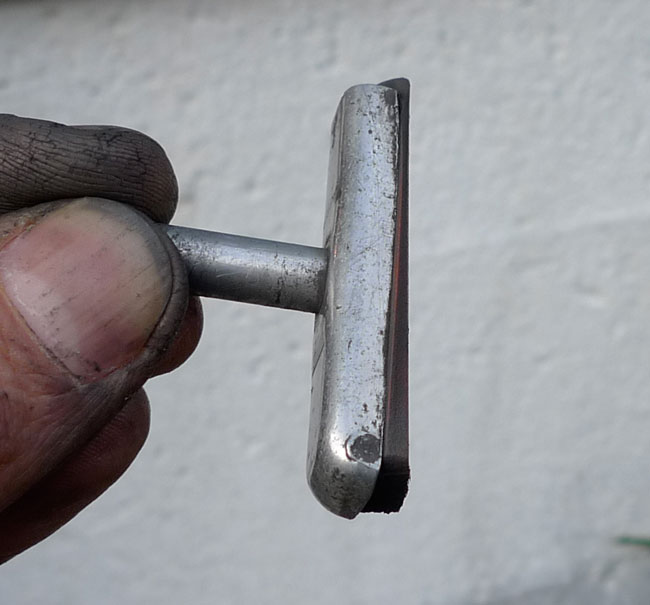
I inspect the brake pads. Are they worn down? Pads that slip into a metal holder (above) must remain at least a few millimeters exposed, otherwise, the holder will touch the rim when the pad compresses under hard braking. (The pad in the photo above needs to be replaced!)
Pads without separate holders have a wear line molded into them. Don’t try to use them beyond that line, as there is a metal stiffener inside the rubber that will score your rim if it is exposed.
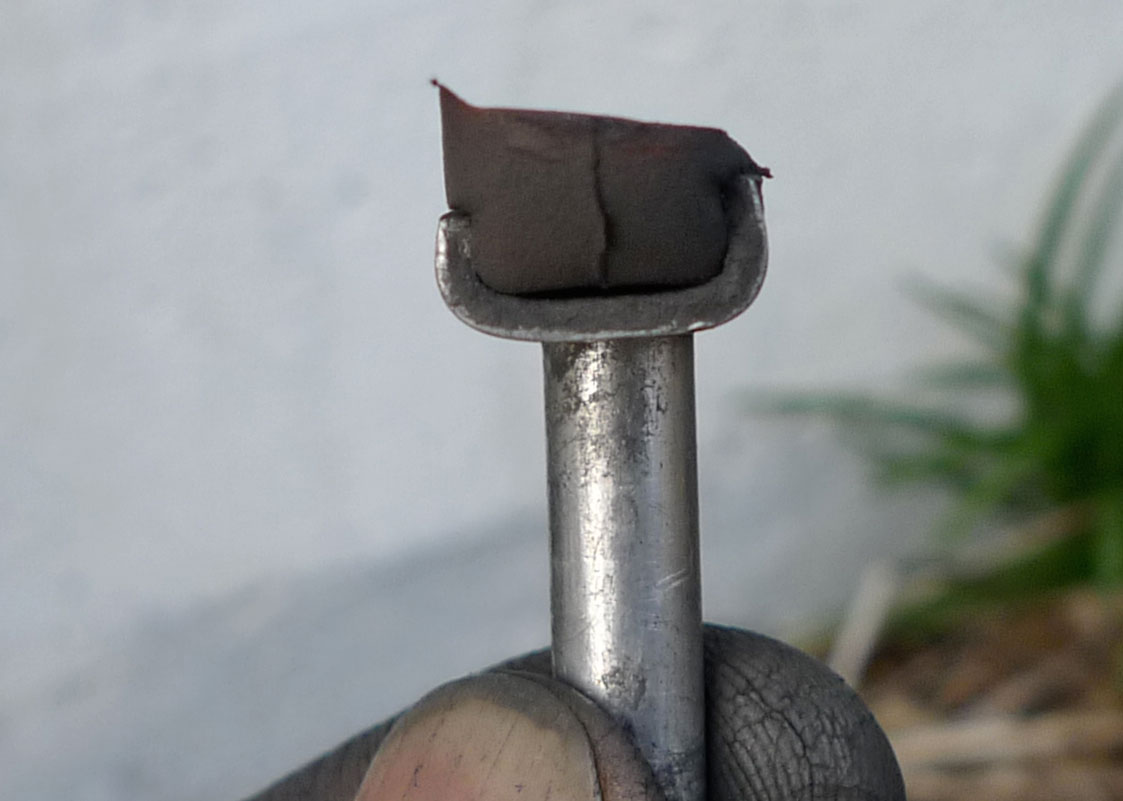
Are my brake pads aligned correctly? Do they hit the rims squarely? Is there a risk of hitting the tire (sidepull and centerpull brakes), or of diving under the rim (cantilevers)? I make sure there is a little margin, as the brake shoe will compress during very hard braking. If the pads have a ridge worn into them (above), they need to be adjusted.
It’s also a good idea to “refresh” your brake pads from time to time. The rubber can “glaze over,” resulting in much-reduced braking power. I use a coarse file to expose fresh rubber. Try it, and you’ll be amazed how well your brakes work again!
The rims also form part of the braking system (unless you have drum or disc brakes). Have the sidewalls become concave from the abrasion of the brake pads? If yes, I measure the remaining wall thickness. If it is less than 0.8 mm, it is time for a new rim.
If possible, I unhook the brake springs and move and wiggle the arms. Do they move smoothly and without too much play? Are the bolts tight?
Chain
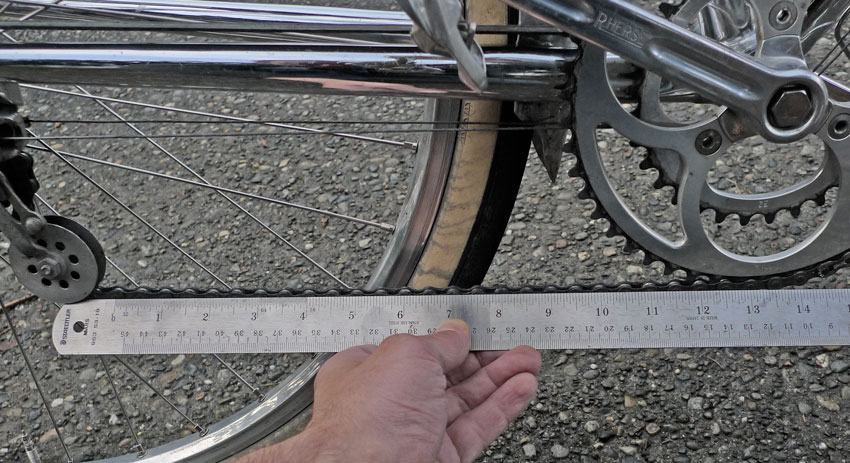
I replace my chain on a regular schedule, so I don’t need to check whether the bushings have worn so much that it no longer meshes cleanly with the freewheel/cassette cogs. If you are in doubt, place a ruler against the chain with the zero on one chain pin. At the one-foot mark should be another pin.
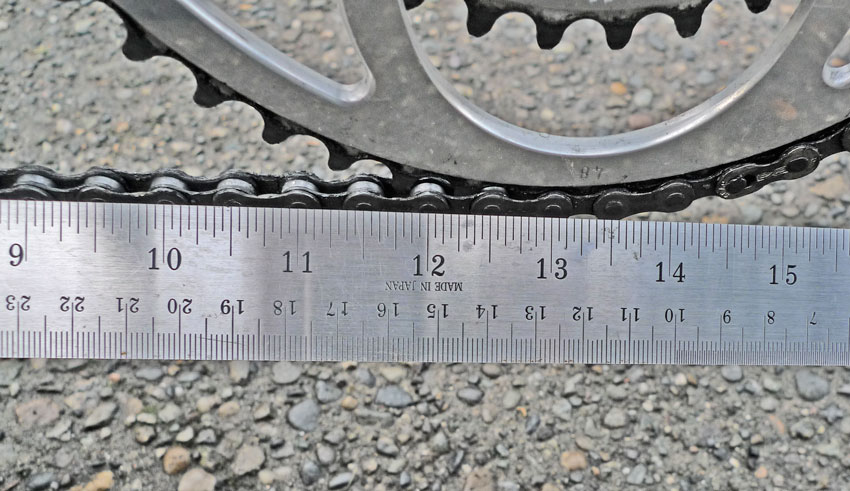
The chain above is almost new, so each link still is exactly one inch long. If the pin is more than 1/16 inch beyond the 12-inch mark, the chain has worn (“stretched”) so much that it should be replaced.
When the chain is off, I spin the cranks to see whether my bottom bracket turns smoothly. There should not be any grinding or catching, but just a smooth spin. I also spin my rear derailleur pulleys to check that they still turn smoothly.
Cogs/Chainrings
The wear of the rear cogs is difficult to inspect visually. I know they are worn when I install a new chain, and it skips on some cogs under hard acceleration.
Chainrings are easier to inspect. Worn chainrings have a “shark tooth” profile, if the old chain has been used for too long. I replace my chain regularly, so the teeth just get thinner as they wear. When the teeth have visibly “thinned,” I replace the chainrings to reduce the wear on the chain and to keep my drivetrain running smoothly.
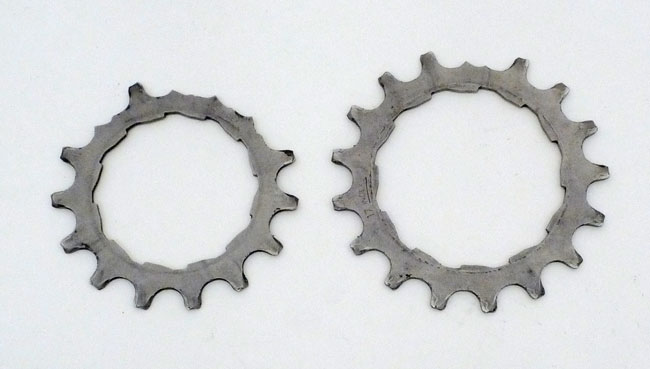
If the chain feels “rough” when I pedal, I check whether my cogs still have all their teeth (above). On my Urban Bike, I have stripped teeth off high-quality Dura-Ace 6-speed cogs. That bike sees a lot of torque when starting from a stop with a load of books on the rack.
Derailleurs and Cable
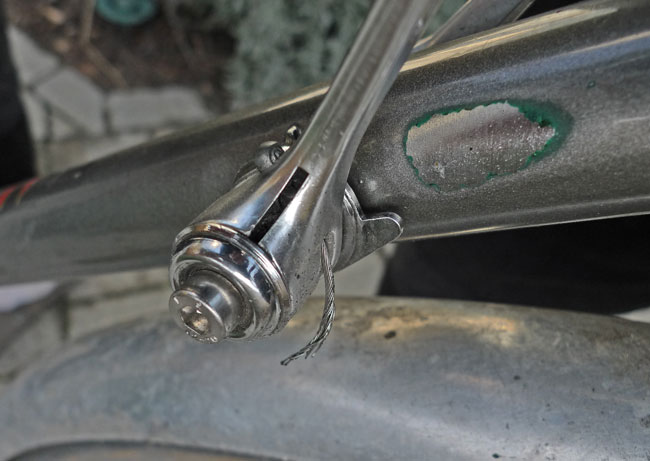
Derailleurs don’t usually suffer from much wear. Trouble usually comes from the shifter cables, which eventually fray and break (above). With downtube shift levers, it’s easy to check the cables at the shift lever. With modern brake/shift levers, it is harder to see whether the cable has frayed where it bends the most. I suggest taking the cables out and checking them once a year. A broken shifter cable will convert your bike to a single-speed, and not with the gearing you’d want!
I also check the brake cables. If the cables are frayed or have broken strands, they should be replaced. With broken strands (or worse, broken cables), look for the cause. Is there a burr over which the cable runs, causing it to flex more than necessary? It’ll need to be smoothed so the new cable won’t fail in the same spot.
I also inspect the housing. Is it in decent shape and without kinks? If your bike still has unlined housing, you can replace it with modern housing, which has a plastic liner inside that greatly reduces the cable friction.
Wheels
I check that my wheels are still true. Minor deviations don’t really affect your bike’s performance, but if a wobble is visible to the eye, it should be trued. Often, it’s just one spoke that has come loose (or broken). I find that spoke by plucking each spoke like a guitar string. Without removing the wheel from the bike, I tighten the loose spoke and see whether the wobble disappears. If the problem isn’t limited to a single spoke, then it’s time to rebuild the wheel to make sure the spoke tensions are even.
Bearings
The days when we had to repack our bearings annually are over for most of us. But even modern bearings with good seals do wear over time.
First, I check the bearings for play. I push the rims sideways to check the hub bearings. It’s normal that the wheel flexes, but if I feel a rocking motion, then there is play in the bearings. On many hubs, this can be adjusted. On others, you just have to live with it.
I push one crank toward the chainstay to check for play in the bottom bracket. For the headset, I turn the handlebars 90° and then rock the bike back and forth. There should be no play in the headset.
Then it’s time to make sure that my bearings still spin smoothly. I remove the wheels and turn the axles by hand. A little resistance is normal with sealed bearings. If the bearing catches at one (or several) spots during each revolution, the bearings are either adjusted too tightly, or more likely, are pitted and need replacement soon. I drop the chain off the chainrings (or remove it entirely) and spin slowly the cranks to check the bottom bracket. I put my bike on the stand, remove the front wheel, and turn the handlebars to check my headset.
I also check the pedals, both for play and for smooth bearings.
Riding with pitted bearings is not recommended. Eventually, the bearing can “pack up” and stop rotating. This will leave you stranded on a ride.

Tires
Last, I check the tires. If the tread has worn so much that it is smooth in the center (above), then the tire is getting close to its replacement point. I take it off and feel how much thickness remains. If the tire tread is almost as pliable as the sidewall, then there is hardly any tread left on top of the casing. Replace your tires before the tread wears through entirely! If you can see the casing through worn patches in the tread rubber, then you should replace the tire immediately. You are only a few miles away from a dangerous blowout!
What other parts of your bike do you inspect before you start your cycling season?
