

Using Handlebar Bags on Modern Bikepacking Bikes

Bikepacking is popular because it allows you to go places where bikes with panniers face difficulties. Bikepacking bags are inside the outline of the bike, so you can go anywhere an “empty” bike can go. Pushing the bike is easier, too, when there are no bags hanging off the sides.
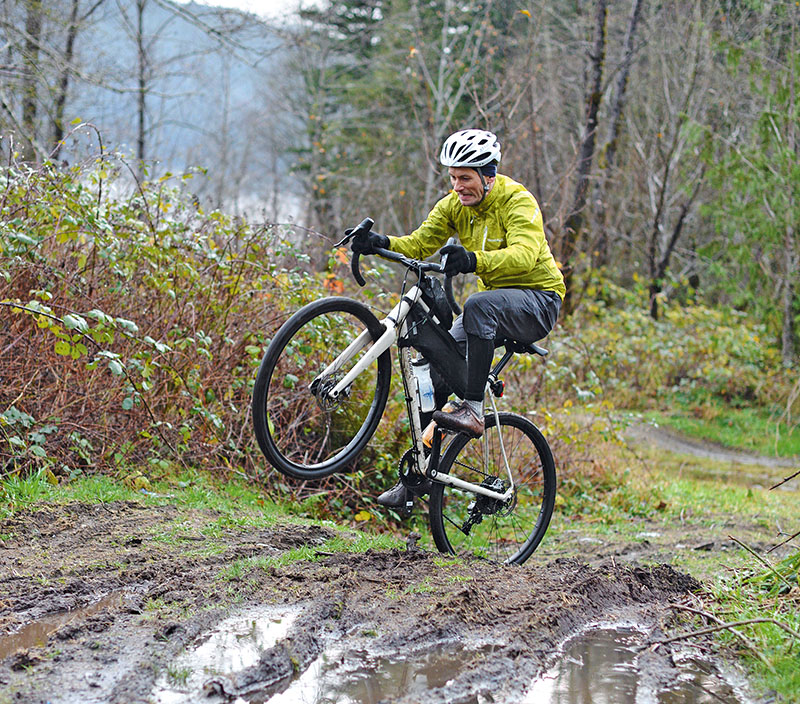
The only problem with bikepacking bags is that their carrying capacity is limited. Frame bags must fit between your legs, making them very narrow. Top tube bags are even smaller, plus they can get in the way of your knees when you rock the bike while riding out of the saddle. Large saddlebags hold a bit more, but they can give the bike that dreaded “tail wagging the dog” feel.
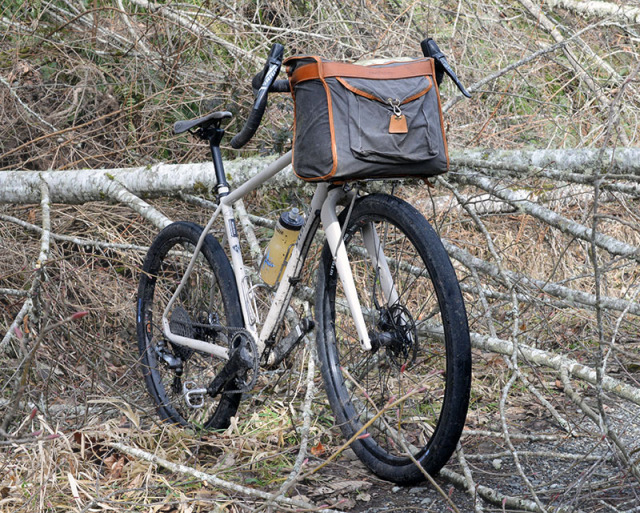
That is why more and more riders adopt handlebar bags as part of their bikepacking luggage. Handlebar bags fit inside the handlebars, so they don’t encumber the bike in rough terrain. Shaped like a cube, they offer an excellent volume-to-weight ratio. Putting the load on the front helps keep the front wheel on the ground during steep climbs, yet the wheels are easy to lift across logs and other obstacles on the trail.
Handlebar bags have one drawback: They work best when supported by a small front rack. How do you fit a rack on a modern bike?
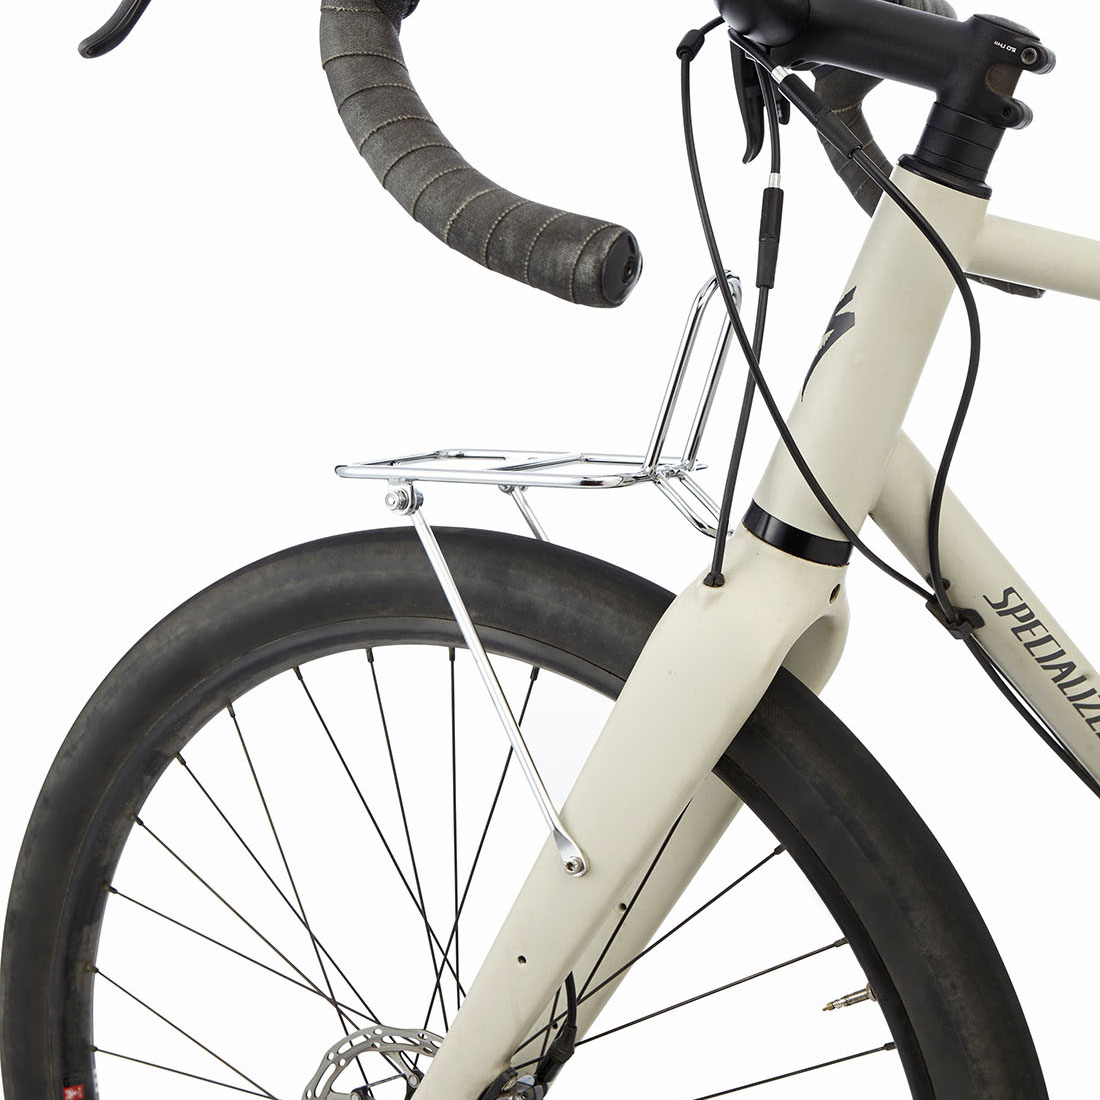
The Compass UD-1 rack was specifically designed for this purpose. (UD stands for “Universal/Disc”.) The rack is adjustable to make it compatible with many bikes. It is available with two lengths of struts, depending on where the braze-ons are located on your fork. The extra-long struts work even with eyelets on the front dropouts. The rack is lightweight, yet strong enough to support a large handlebar bag.
I recently mounted a UD-1 rack on Bicycle Quarterly‘s Specialized Sequoia test bike. Installation was easy: I used the standard-length struts. After mounting the rack, I marked where the struts extended above the rack platform, then removed the struts to cut them to length. With a file, I rounded the ends of the struts. After mounting the struts again, the bike was ready to roll.
The UD-1 rack’s simplicity is key to its strength and light weight. The platform is made from ultra-strong and lightweight CrMo, while the aluminum struts are easy to shorten to the required length. The rack platform sits level above the front wheel, and it incorporates a mounting point for a front fender.
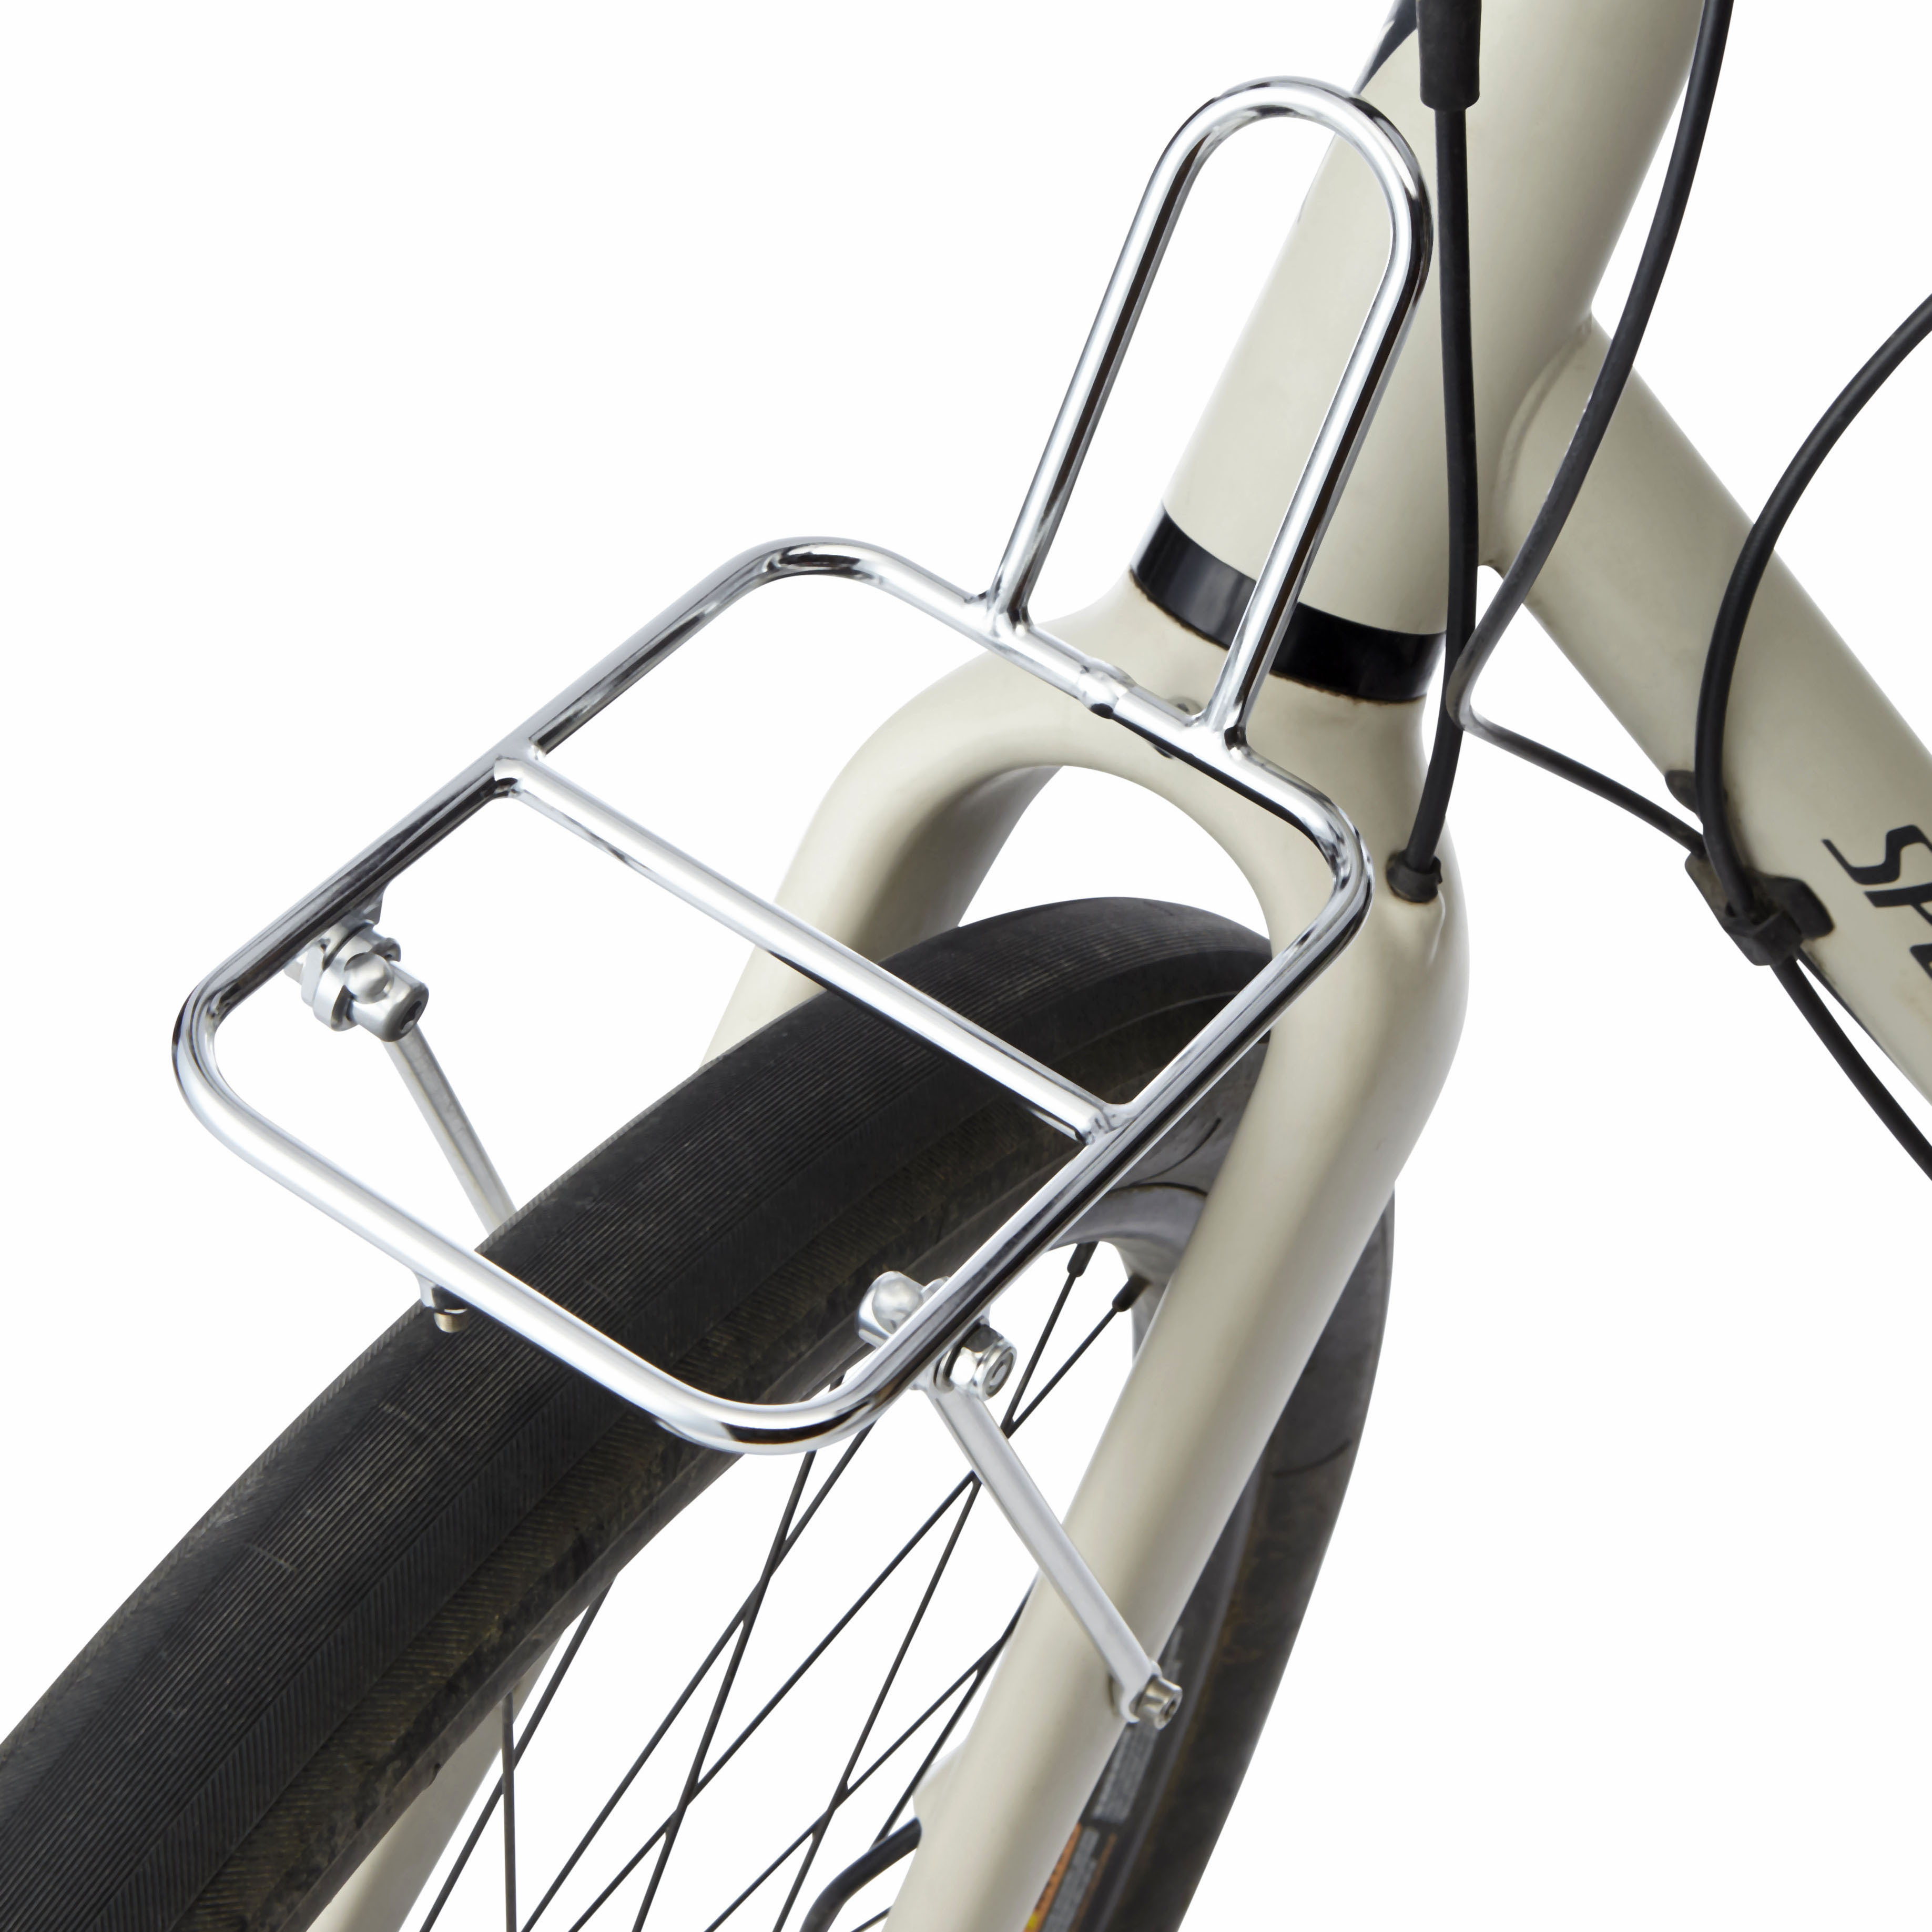
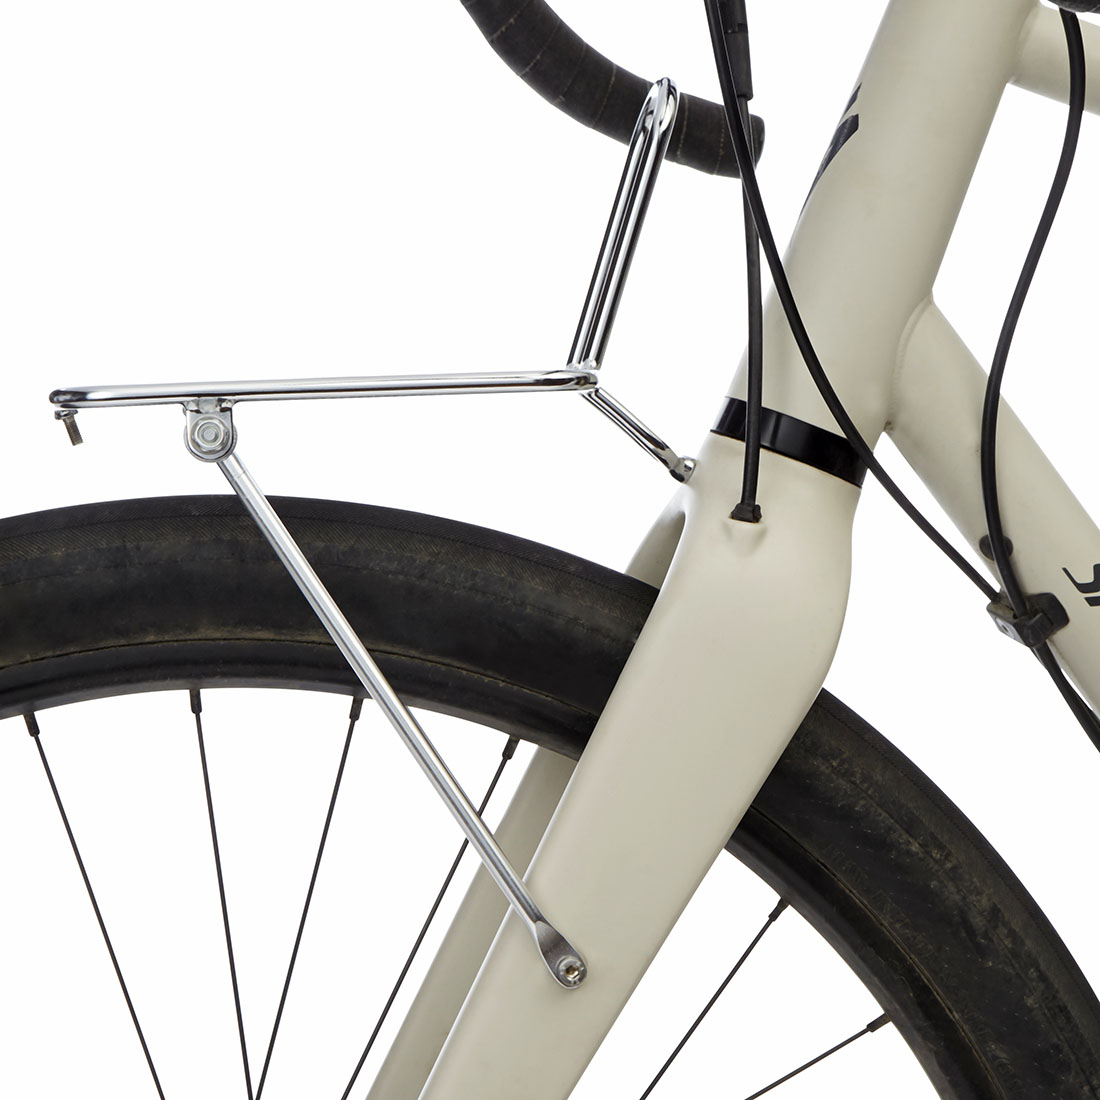
Key to the rack’s elegance is the strut attachment on the inside of the platform, rather than on the outside as on many other racks. Compared to the other Compass racks, we widened the platform to make it all come together functionally and aesthetically.

The crown of the Sequoia’s carbon fork has a countersunk hole, so I used a brake nut (above) to attach the rack. That provides a very clean look, as the nut is recessed into the fork. For the Sequoia’s large fork crown, I used an extra-long nut (not shown).
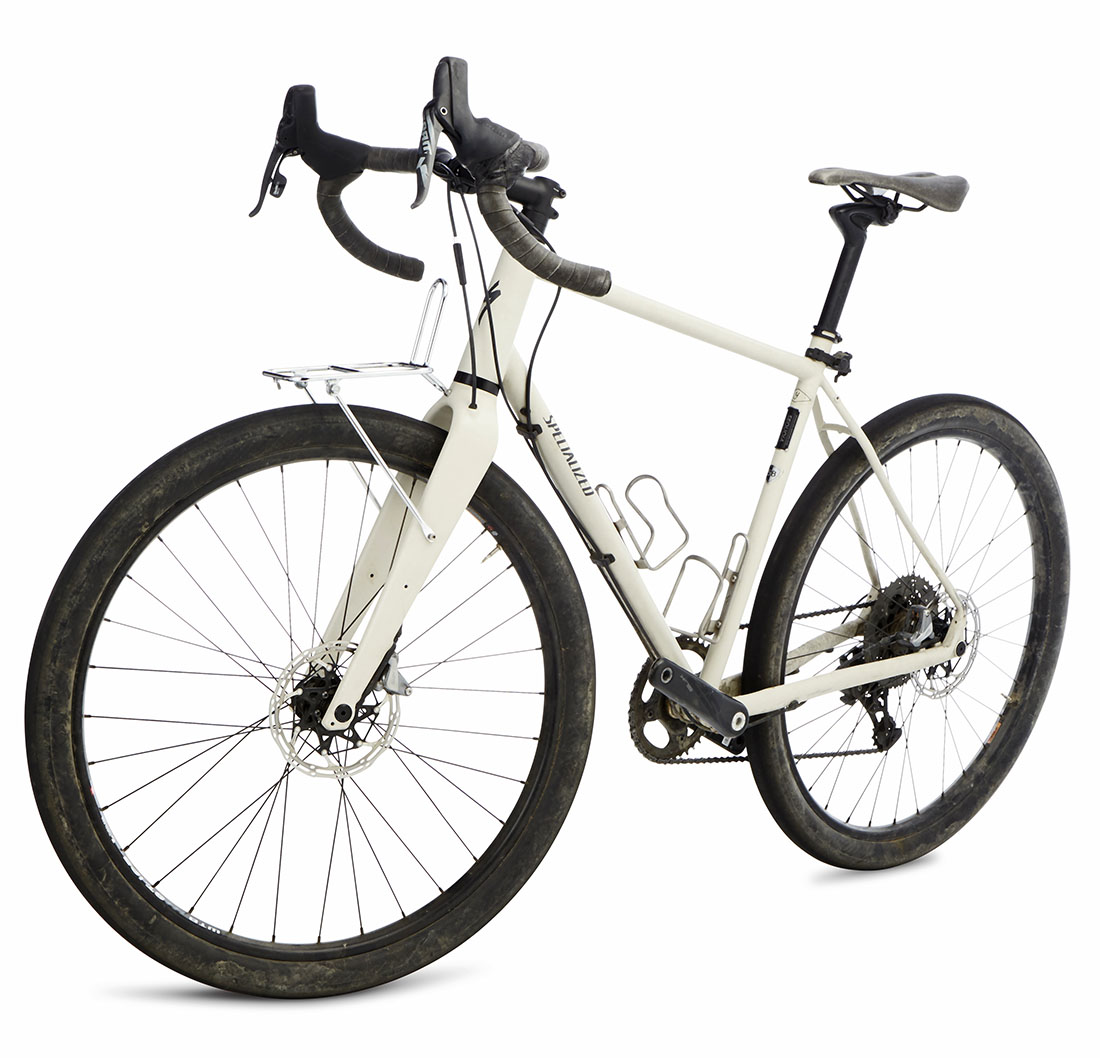
With the rack installed, the Sequoia became much more versatile. With a handlebar bag, I finally could carry the gear I needed for my rides with ease. And I found that the Sequoia’s high-trail geometry tolerates a front load well.

The next step to make the bike even more enjoyable would be installing the Compass light mount, a headlight and a generator hub. Then I could enjoy the bike even after the sun goes down.
The UD-1 rack is a great solution for bikes with disc or cantilever brakes that aren’t specifically designed for rack mounting. As long as you have eyelets on the fork blades or on the dropouts, and a hole in the fork crown, you should be able to mount this rack. And yet it’s not a compromise solution: It offers performance, durability and beauty similar to other Compass racks.
Click here for more information about Compass racks.
