

Getting Your Bike Ready for Randonneuring
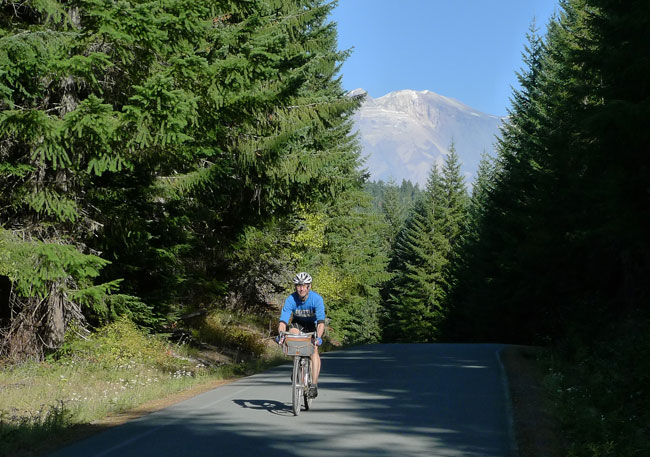
A number of readers have asked about randonneuring, and more specifically, about which bike is best to get started with randonneuring.
I recommend that you gradually ease into long-distance riding, and also incrementally change your equipment as you gain more experience. You don’t need to buy brand-new equipment before riding your first brevet, nor do you want to!
With each brevet distance discussed below, I suggest making one relatively simple modification to your bike. Focus on training and on your enjoyment of the ride!
100 km Populaire: Cue Sheet Holder
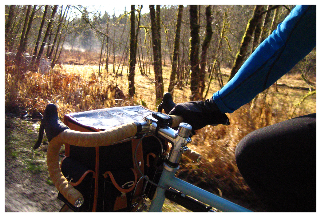
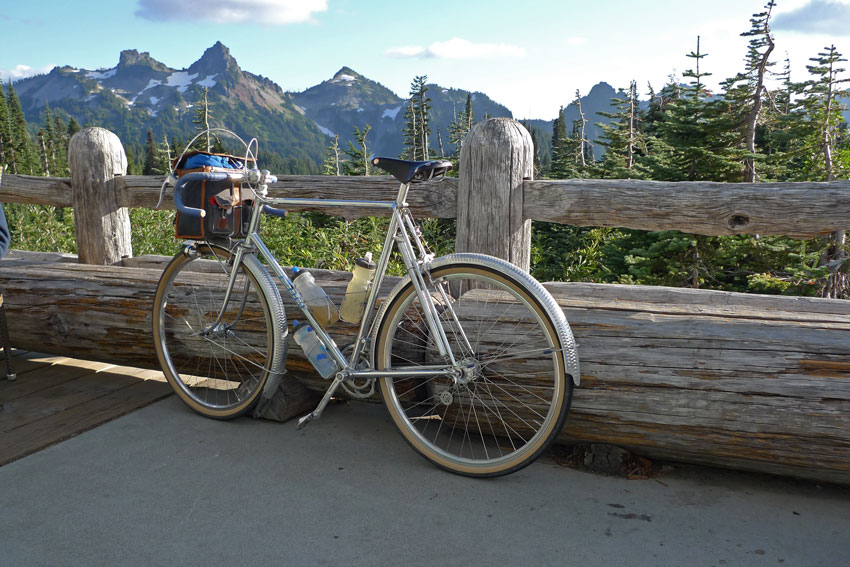
For a 100 km Populaire, any bike will do. You don’t even need to be a member of Randonneurs USA or a local club. Just show up (with a bike and a helmet), and ride. One thing that will come in handy and doesn’t cost a lot is a cue sheet holder.
Having your cue sheet in front of you and easy to read at all times is the best way to avoid getting lost. It also will improve your finishing time more than any other component, because you won’t need to slow down or stop while you fumble with a sweat-soaked cue sheet (or a ziploc bag) that you retrieve from your jersey pocket.
The cue sheet holder in the photo above is part of a handlebar bag, but you can get them separately. They clip on to your handlebars and brake or shifter cables.
200 km: Luggage
Most brevets start very early, and you’ll wear layers of clothes during the morning chill. As the day warms up (hopefully!), you will want to take off layers and put them somewhere. In most cases, you’ll also need a rain jacket. I also suggest you carry the food you’ll eat during the ride, so you’ll save valuable time that you’d otherwise spend shopping.
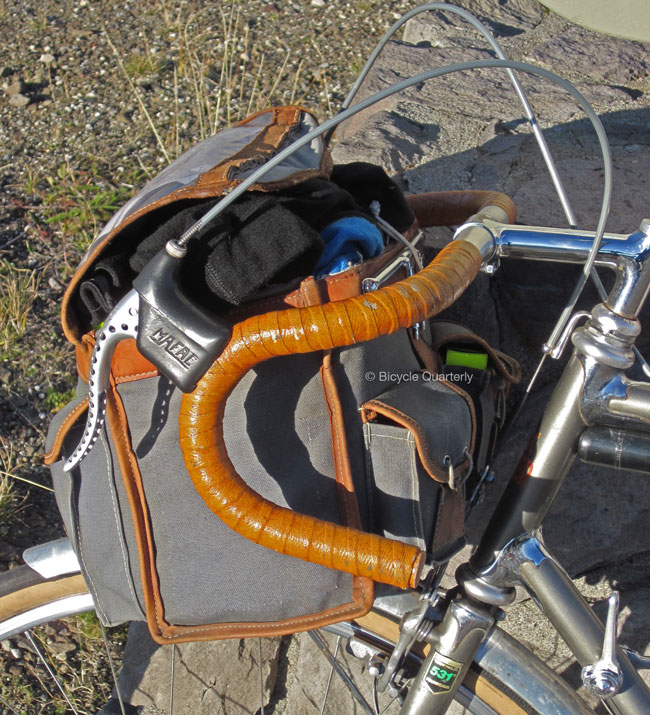
A backpack is a poor solution for carrying weight for long distances, as it puts the load on your back. Much better to have your bike carry the weight. The easiest solution is an under-seat bag, like a Carradice. It straps onto (almost) any bike without much ado, and it’s impact on the bike’s handling is felt only when you ride out of the saddle. The main drawback is that you have to stop to access your luggage.
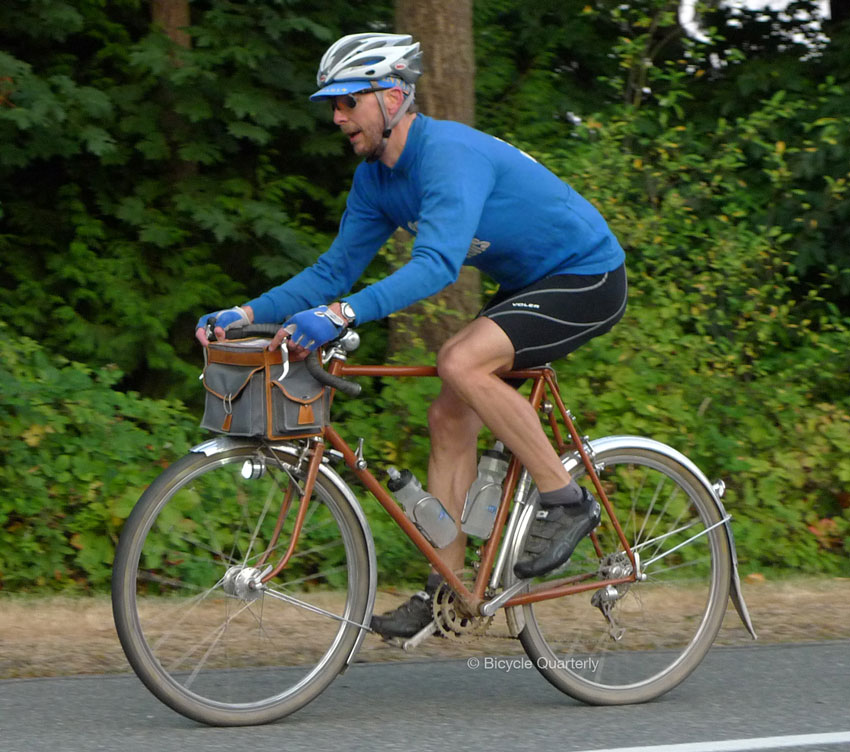
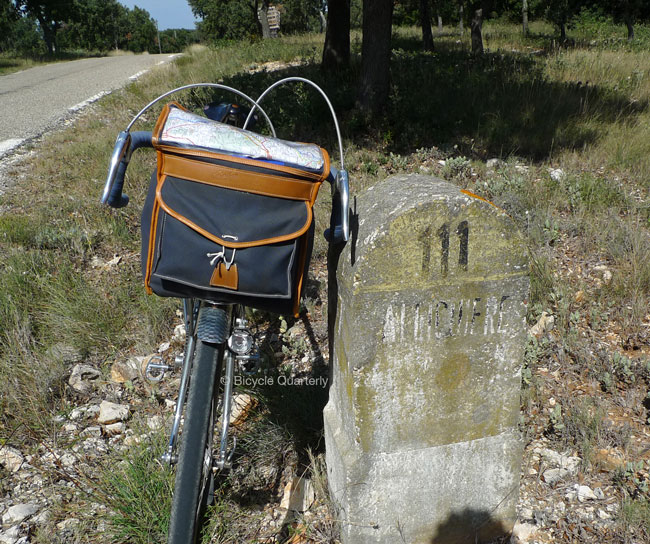
A handlebar bag (above) is tempting, because it combines cue sheet holder and luggage. It also keeps your luggage accessible while riding. And it does not affect your bike’s handling like a saddlebag – provided your bike’s geometry is suitable for carrying a front load. Unfortunately, most production bikes sold today have geometries that are not ideal for handlebar bags.
300 km: Tires
While most riders can “wing it” for 200 km (125 miles), a 300 km brevet represents more of a challenge. Due to the time limits, you have to maintain the same average speed as for the “200”, but for 50% longer!
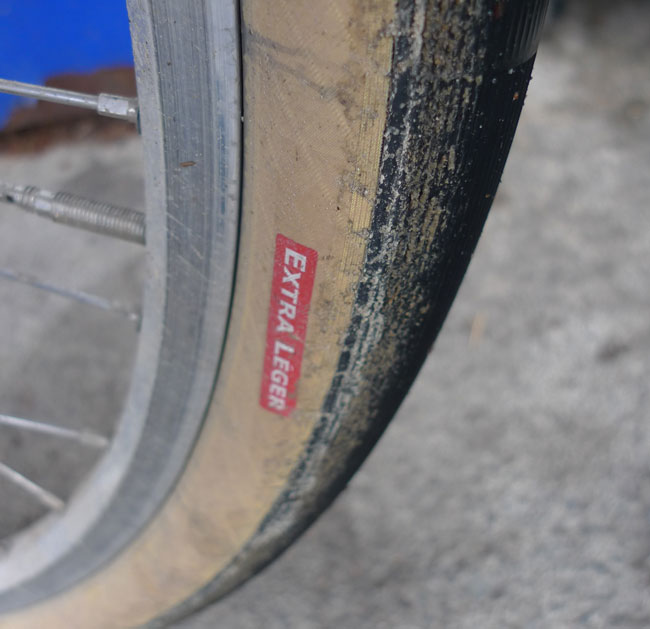
This is a good time to invest in your bike’s performance (and comfort) by getting some supple, fast-rolling tires. Compared to all other changes you can make to improve your bike’s speed, reducing rolling resistance makes the biggest difference. The differences between tires are huge. A puncture-resistant “touring” tire can have more than twice the rolling resistance of a supple high-performance tire. (By contrast, a set of aero wheels reduces your wind resistance by only 2-3%.)
Tires represent a trade-off: You gain a lot in speed and comfort, but you give up a little in puncture protection. However, you can improve your puncture resistance by running wider tires (if they fit your bike). Run at lower pressures, wider tires don’t puncture as easily…
Unless you have multiple punctures during each brevet, you will save significant time with supple, fast tires. Bicycle Quarterly’s tests of tire resistance found that the slowest tires rolled a full 15-20% slower at average randonneuring speeds than the fastest ones. Where you’d go 25 km/h on the slowest tires, you’d roll at 29 km/h on the fastest, with the same power output. During a 300 km brevet, this would take more than 2 hours off your time – time you can spent resting and taking it easy if you feel like it, without worrying whether you will make the next control before the cutoff.
For the 300 km brevet, you’ll also need lights. You’ll probably only use them for a short period of time. If you don’t already have lights, I suggest borrowing a friend’s clip-on headlight and taillight. Just make sure they are fully charged! A reflective vest and ankleband should be in every cyclist’s wardrobe anyhow.

400 km: Lights
Unless you are a very speedy rider, you will spend considerable time in the dark during the 400 km brevet. By now, you’ll know whether randonneuring is something you want to pursue, and so getting a good lighting system is a sound investment. While some randonneurs still use battery-powered lights, the majority prefer generator hubs. Not only is it nice to have lights at any time, without worrying about battery run time, but the beam patterns of the best generator-powered headlights are much better than those of battery-powered lights.
You’ll need a new front wheel built up for the generator hub, which increases the cost a bit. On the plus side, the wheel can be moved to a new bike if you get a purpose-built bike for randonneuring later on. Generator hubs also retain their value if you ever decide to sell it, unlike battery-powered systems that have a limited lifetime until the batteries no longer hold a charge.
600 km: Wheels
For the 600 km brevet, reliability is key. You’ll be riding at night, and the last thing you need is a break-down miles from nowhere. As you ride more, it’s likely that your wheels are nearing the end of their service life. A good set of hand-built wheels features more even spoke tension and proper stress relieving. This keeps them true much longer, and avoids breaking spokes – something that is almost inevitable on machine-built wheels.
If you live in a rainy climate, fenders also are a good idea. Riding with a wet behind all day is bad enough. Add to that the cold temperatures you are likely to encounter at night, and it takes most of the fun out of randonneuring.
1200 km: Handlebars
Having completed a 600 km brevet, you are becoming a seasoned randonneur. Now is the time to focus on preventing overuse injuries and improving your comfort on the bike. One key part are your handlebars. Many riders experience numb hands during long rides. Don’t ignore this – it’s a sign of nerve damage that may become irreversible.
Your hands don’t need to suffer on the bike. In a previous post, I talked about how to prevent numb hands. Handlebar shapes are crucial. Your bars should support your hands well and not put pressure on your nerves. Getting new handlebars is most likely the biggest change you can make to improve your long-distance comfort.
Year 2 or 3: New Bike?
Once you have been riding long distances for a season or two, you’ll know the limitations of your existing bike, and you’ll have a good idea what you really want in a randonneur bike.
Step back and assess the situation. Is it worth spending money trying to improve your existing bike by, for example, adding a front rack and handlebar bag? Maybe re-rake the fork to make the front-end geometry optimized for a front load? Convert the bike to 650B so you can run wider tires? It all can be done, but it also might make sense to start over, and get a purpose-built randonneur bike that is optimized in every way, including frame geometry, tubing choices, tire size, racks, etc.
If you chose to get a new bike, by now you’ll know what you want in a bike. You’ll have optimized the fit of your current bike and thus have a good starting point so that the new bike fits you well. In any case, you’ll have enjoyed a few seasons of wonderful riding without breaking the bank!
For more information on randonneur brevets near you, check out the Randonneurs USA web site.
